A simple finishing step that makes your handmade pieces look polished and professional.
If you’ve ever finished a crochet project and noticed it looked a little wonky—curled edges, uneven shapes, or stitches not quite laying flat—you’re not alone. But before you frog your work or hide it in a drawer, there’s one magical step that can completely transform your finished piece: blocking.
Whether you're a beginner or a seasoned stitcher, blocking is a powerful tool that can take your crochet from homemade to handmade with love (and precision). Let’s dive into what blocking is, why it matters, and how you can easily do it at home.
What is Blocking in Crochet?
Blocking is the process of shaping and setting your finished crochet piece using moisture, heat, or both. It helps even out stitches, straighten edges, and bring your pattern’s true form to life.
Think of blocking as giving your project a chance to relax and settle into its final shape—kind of like giving your yarn a gentle spa day after all that hard work.
Why Should You Block Your Crochet?
- Defines shape and size: Great for making sure squares are square and garments actually fit.
- Smooths out stitches: Especially helpful for lacy or textured patterns that need to open up.
- Improves drape: Yarn can feel stiff right off the hook—blocking softens it up beautifully.
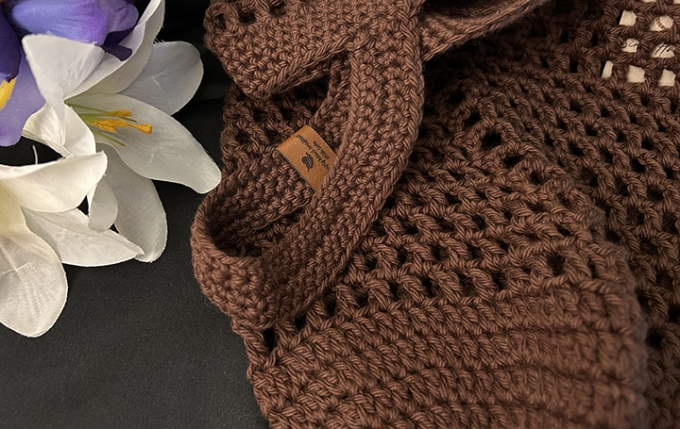
- Gives your work a finished look: Whether you're gifting, selling, or showing off your creations, blocking adds polish.
Types of Blocking
There’s more than one way to block, depending on the yarn and project. Here are the most common methods:
1. Wet Blocking
- Soak your item in cool water, gently squeeze out the excess, and pin it into shape on a blocking mat or towel.
- Best for natural fibers like cotton or wool.
- Let it air dry completely before unpinning.
2. Steam Blocking
- Use a steamer or steam from an iron (held above—not pressed on) to gently relax the fibers.
- Great for acrylic or blends that respond better to heat.
- Be careful not to “kill” the acrylic with too much heat—always test on a swatch first!
3. Spray Blocking
- Lay your piece flat and spray it lightly with water, then pin it to the desired shape.
- A quick and gentle option for lightweight projects or delicate yarns.
Tools You’ll Need
- Blocking mats or foam boards
- Rust-proof pins or T-pins
- A spray bottle or steamer
- A measuring tape (for accuracy)
- Patience—it’s worth the wait!
When Should You Block?
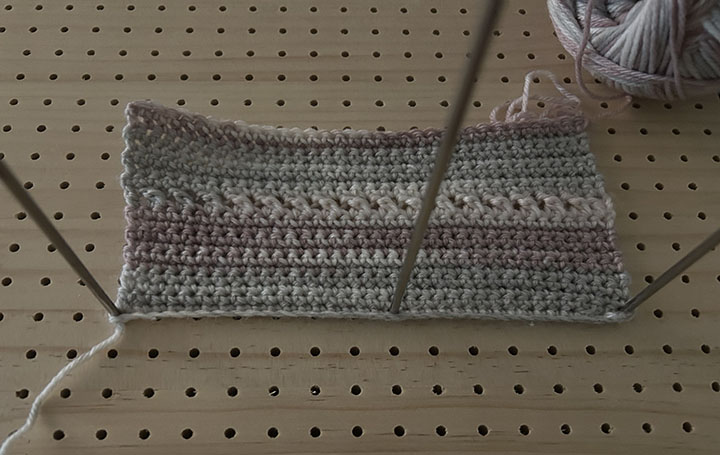
- Before joining squares or assembling garments
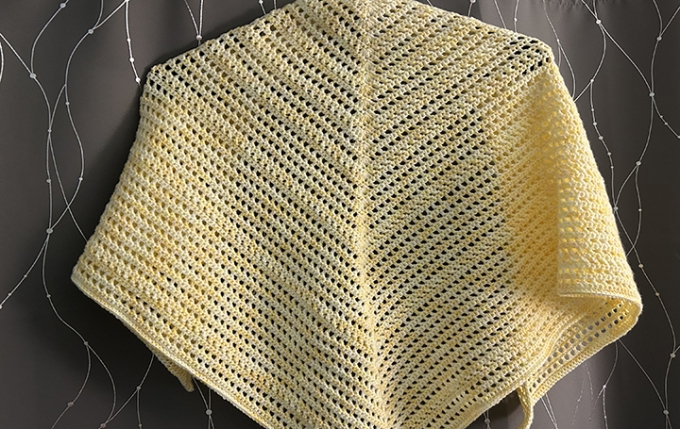
- After completing shawls, scarves, or doilies
- When prepping items for photos, craft fairs, or gifting
- Anytime your project needs a bit of reshaping or refinement
Final Thoughts
Blocking might seem like an extra step, but it can make a world of difference in the final look and feel of your crochet. It’s the secret to achieving clean lines, elegant drape, and that professional finish that makes your handmade work truly shine.
So next time you finish a project, don’t skip the block—it’s the perfect way to say “I made this with care.”
Love learning new crochet tips?
Follow Simply Hand Crafted With Love for more tutorials, handmade inspiration, and behind-the-scenes peeks into our crafting process!